DIY baby photographs during lockdown

Right now, the world is a very different place to anything we’ve known before. Lots of things we have been looking forward to, or enjoying, have been taken away from us. Now most of those things can easily be postponed until the world feels a bit more normal, but baby photographs just aren’t one of those things. Our newborns are tiny for such a short time, and it’s so disappointing not to be able to get to your photoshoot for those precious first photographs that you’ve been hoping for all these months. With that in mind, I wanted to create a guide for you on how to do your own DIY baby photographs.
It’s important to point out that newborn photography is a skill and an art form, and like most photographers I have worked, studied and trained for a long time to get the best images I can for you. You won’t be able to achieve quite the same images, poses or editing, and you won’t have the same equipment or fabrics. BUT I do believe that you can capture very special memories at home, and in these difficult times I want to help you get those newborn pictures looking as professional as you can – even if you are just using a camera phone!
Light
Good light can make or break a photograph. Place your baby close to a large natural light source (windows or patio doors) but don’t have her TOO close to it, or you will end up with harsh, bright light and deep shadows on her face. If this happens, move her further away and see how the light softens on her skin. An overcast grey day is much better than a bright sunny one, as the light will be softer and more flattering. Place your baby on a blanket or in a soft snuggly basket (raise her head slightly in a basket, with her neck well supported with rolled up muslins or towels) and turn her until you can see sparkly lights in her eyes and soft shadows under her nose. That’s when you’ll know the light is in the right place – it should be to the side, or above her head. Whatever you do, don’t have the light pointing up her nose as this creates a very unnatural light – we are never lit from underneath, the sun shines down on us and so should your light!
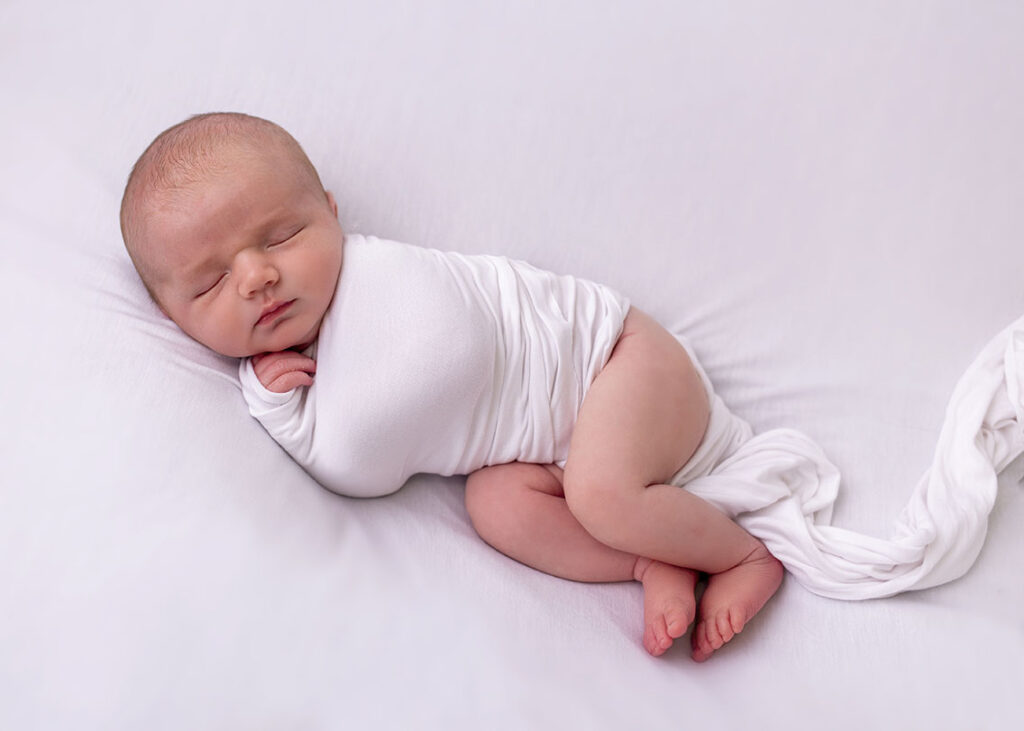
Your position
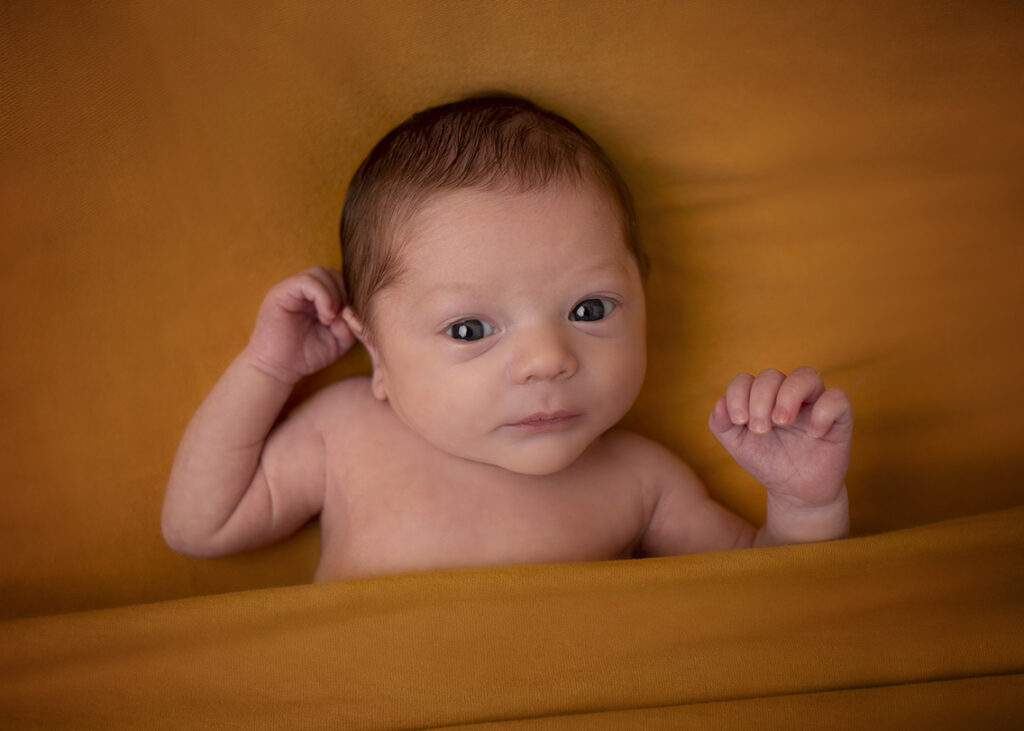
Wherever you can, stand over your baby and point the camera straight down at her, down across her nose, in the same direction as the light falls. You can tilt your camera to create different and interesting angles. In this image, the baby is just laying on his side, but because I’m above him and I’ve tilted my camera, it creates a much more interesting picture and makes him look more posed:
Baby’s position
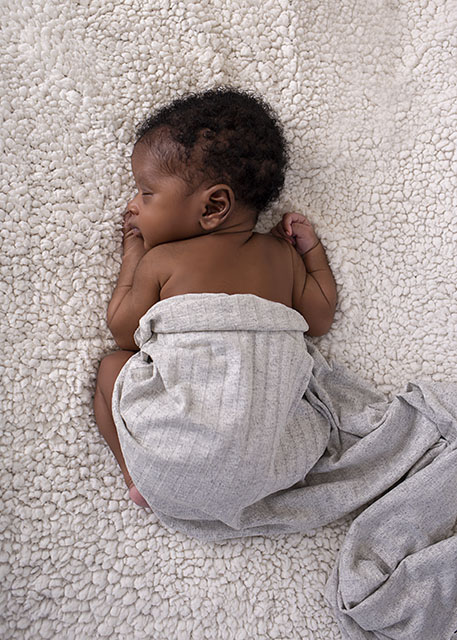
Where you can, have baby on a flat surface (the floor or a big bed) but if you are using a bed please make sure they can’t roll off. Cribs and chairs aren’t a good idea as they cast shadows onto the baby. You can use baskets, but make sure they are stuffed with soft fabrics and there are no sharp edges, and that they are very stable. Clear your background of distractions and clutter, and make any blankets as smooth as possible – a plain white duvet will look lovely!
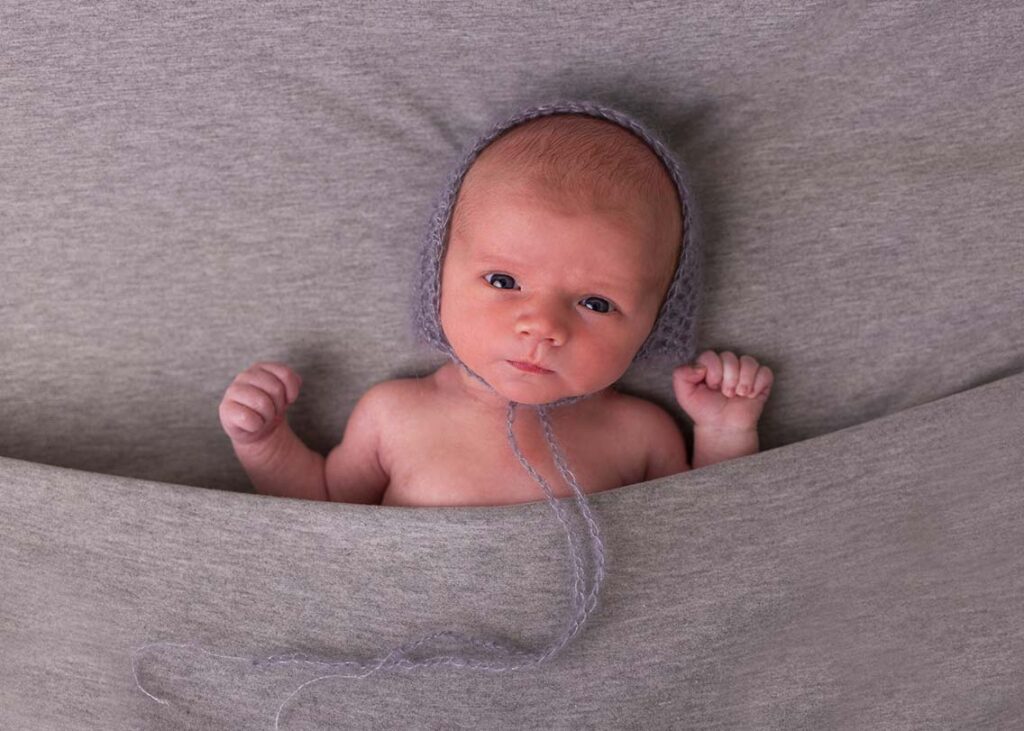
A really easy shot is the “tucked in bed” look”, where you tuck a blanket high up under their chin (get someone to hold each end of the blanket so it’s nice and tight) and photograph them from above. You can use little hats, or tuck a teddy next to them. It’s super easy to do and works well for awake shots too!
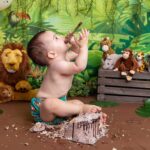
Outfits
Most baby clothes aren’t very flattering for newborn photographs, and that’s why we tend to photograph them in specially made outfits, or naked, or swaddled up. Swaddles work wonders for wriggly babies and most will go off to sleep after a feed and a swaddle! Most mums can easily swaddle their babies and this keeps those kicking arms and legs in place – try to have hands peeping out if you can, so baby doesn’t look too mummified! Naked poses are lovely but you must make sure the house is warm enough as babies lose their warmth very quickly. A cold baby will not settle for pictures! If you’re using baby clothes, avoid anything patterned or “busy” and avoid collars which will ride up and cover baby’s face.
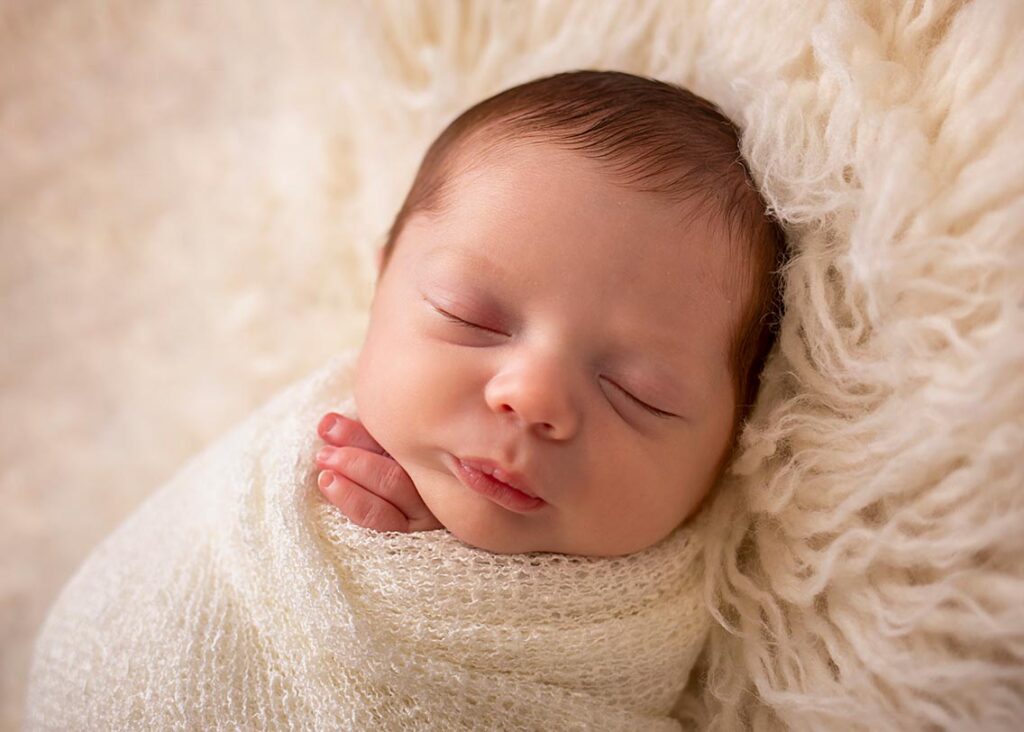
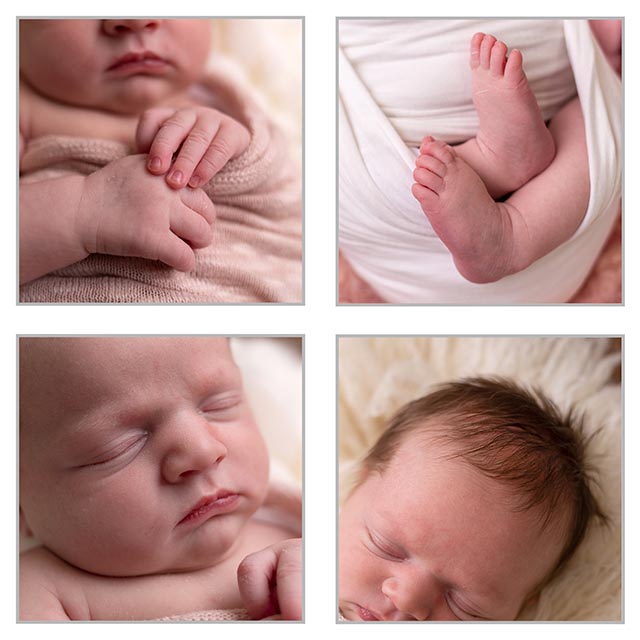
Capture the details
I always make sure I get a series of images capturing fingers, toes, noses, eyes, mouth, hair, eyelashes – as many of the details as I can get. Get really close, and if your camera has a Macro mode then use it – it’s designed to capture all the details.
Poses
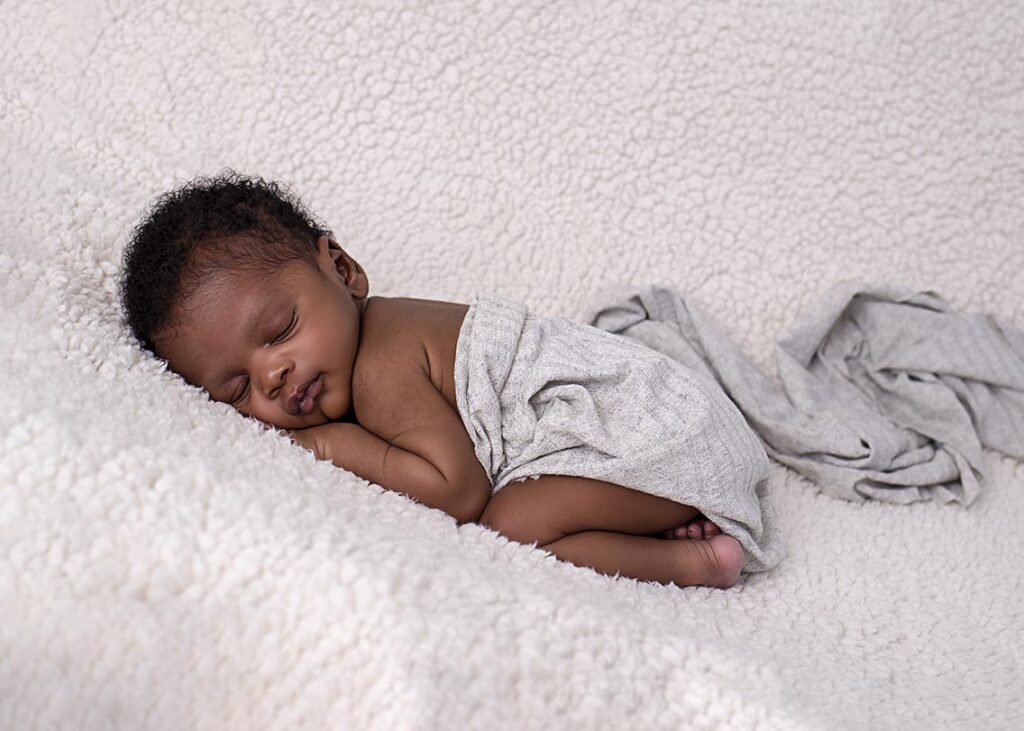
It’s really important NOT to try to recreate a photographer’s poses – we have been trained in how to do these safely, bearing in mind a baby’s airways, circulation and need for support. Keep your baby flat on their back to be safest. If you want to photograph them on their tummy, place one arm flat behind them (never trapped under their head) and with their face turned towards you, place a hand carefully under their cheek to lift their head slightly, and tuck their legs under them to get them nicely curled up. But be very careful to look for feet or legs or toes bent where they shouldn’t be, and any purple toes or feet means you have a problem with circulation.
So have fun, experiment (safely!) and capture as much of your baby’s early days as you can. And don’t worry, you can always come back to the studio when your baby is older!